Tips and tricks for iOS & macOS cross platform development
Crossplatform made easy(ish)
So you have decided to release your awesome app on multiple platforms? Great! You may have also heard how incredibly easy it is to develop user interfaces that work well in all platforms with SwiftUI and you can’t wait to make use of this awesome feature. Also great! But I have some bad news for you, while SwiftUI indeed makes our lives a lot easier, you will still have to invest some time to get the best results out of it.
Note that this article walks you through the process from the perspective of creating a brand new project, but the information contained in it can be useful for any projects, new and existing
Let’s see first what options Xcode provides us. Click on your project, select your iOS target and have a look at the first panel

This is the place where Xcode allows you to add platforms to your target. Let's see what options you have to run your app on macOS
The easiest, Designed for iPad
Let’s say you have an iOS app and let’s assume it already works on the iPad quite well. We will not cover that part in this article as it is pretty easy and well supported by apple to make UIs that work for both iOS and iPadOS out of the box.
The easiest option that most people will try out pretty early is the designed for iPad option for Mac and VisionOS
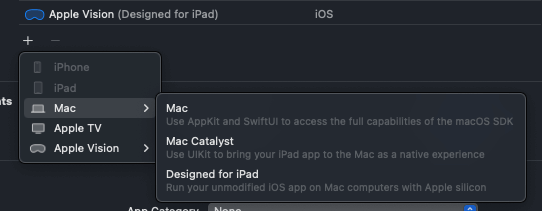
This option allows your app to be installed and run on the Vision Pro or any silicon based Mac. The downside however is that it is going to be nothing more than the iPad version of your app presented on the host platform. You will not be able to use any native APIs and the UI will not adapt to the host platform.
All in all the user will not have the greatest experience, they will not see your app as a good platform citizen, but you can quickly get your app on your users Macs and Vision Pros without any further work.
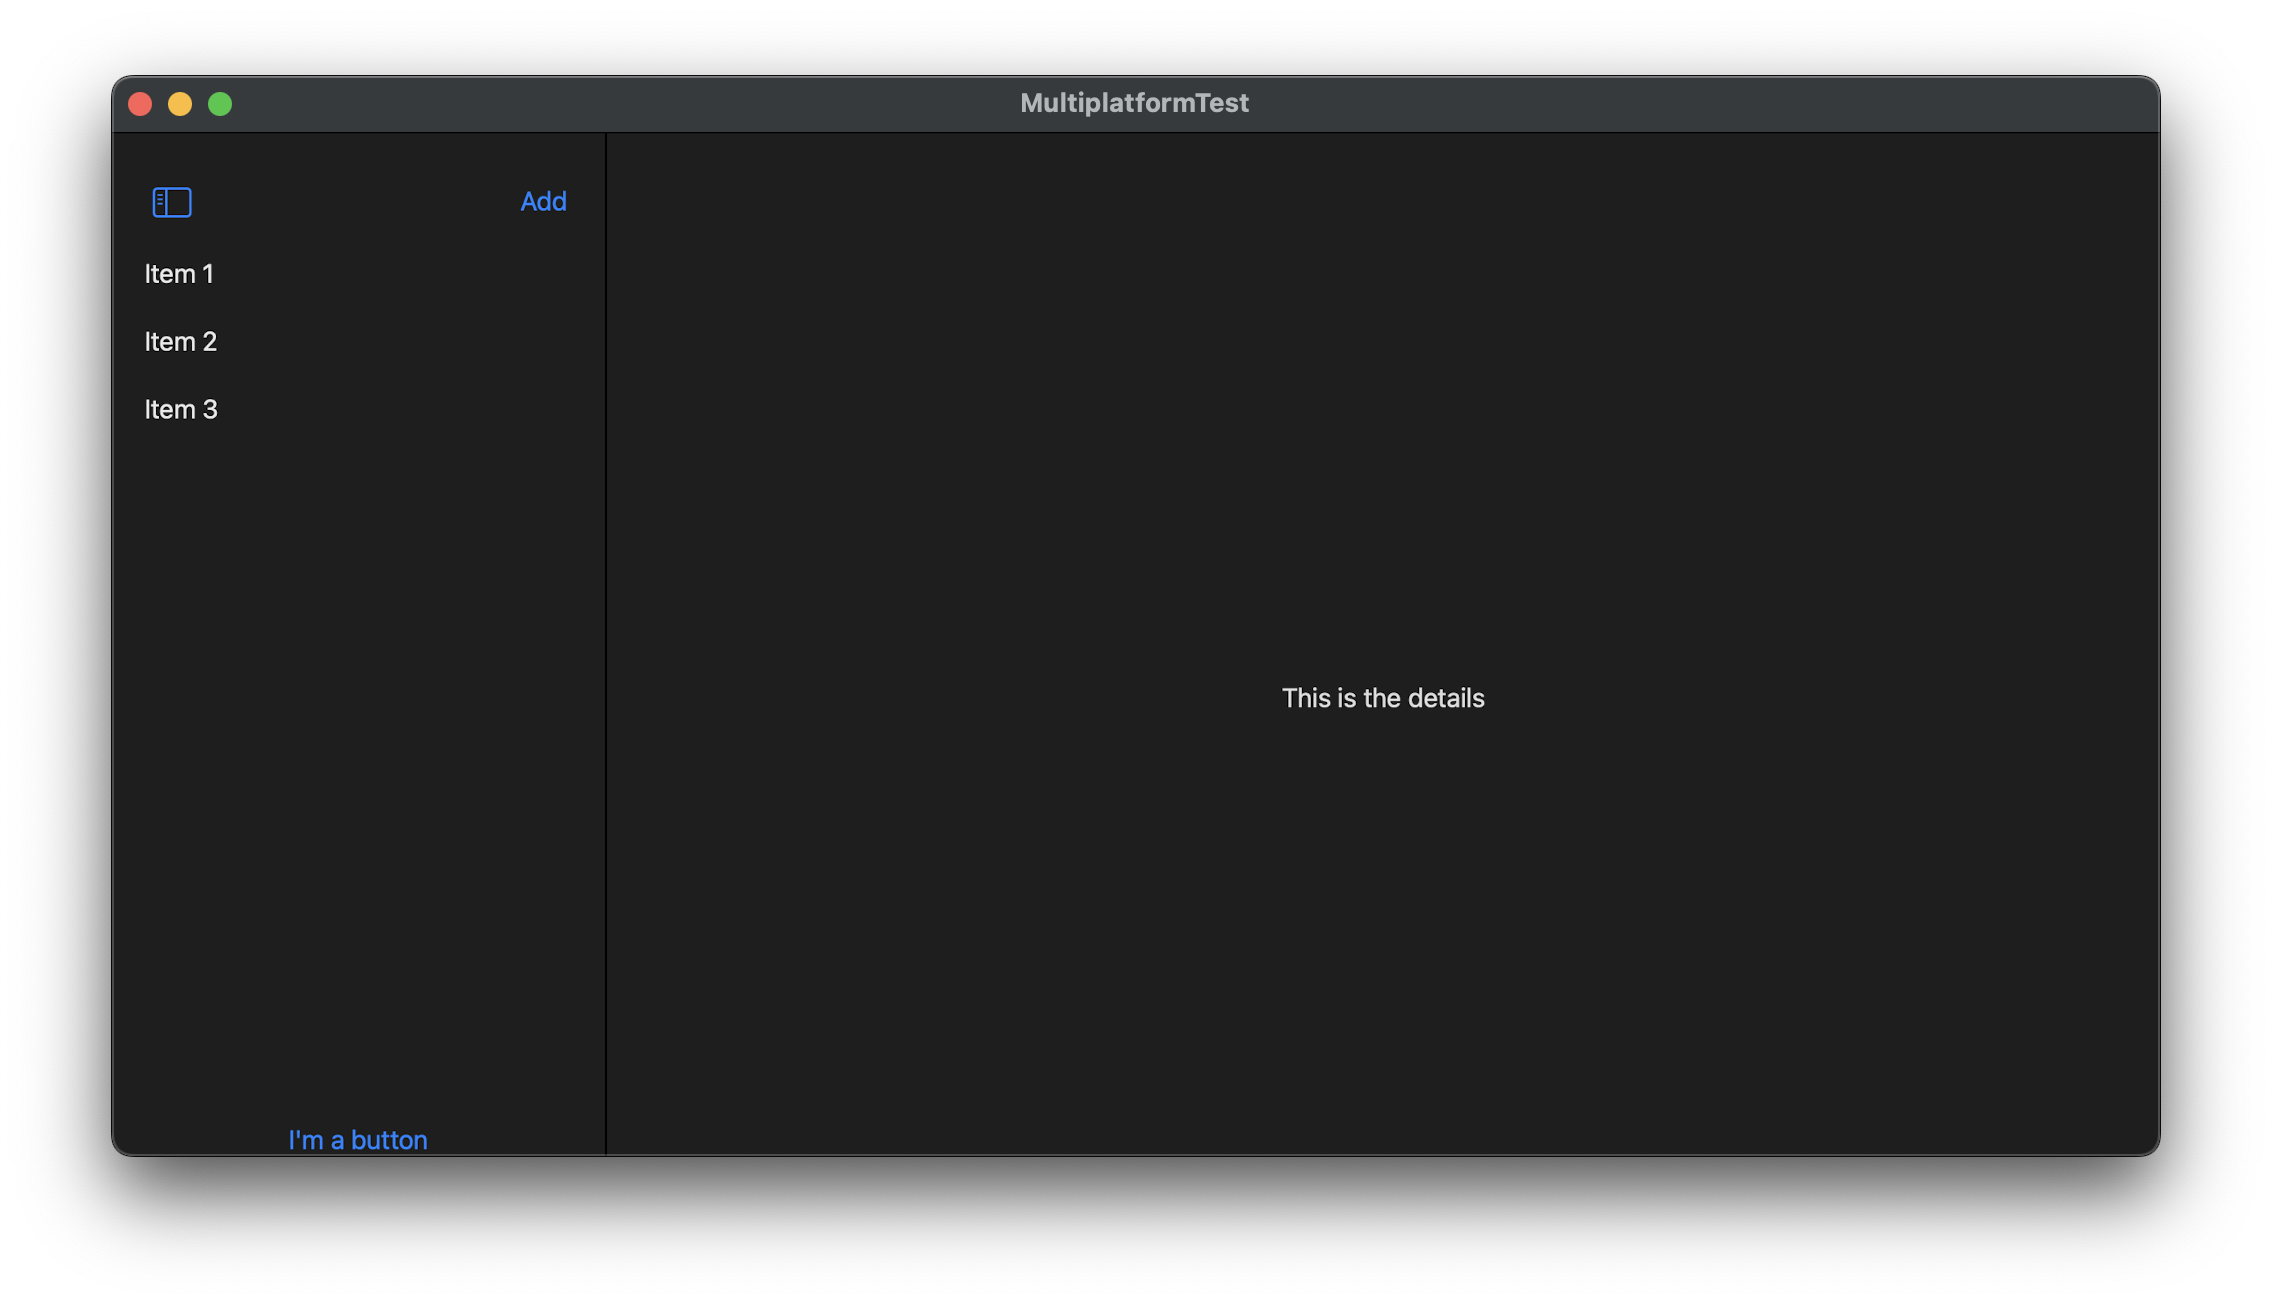
Maybe this screenshot doesn't tell much to you just yet, but stay tuned for the following example where you will be able to compare the same app to its native macOS version
The middle ground
If you try to add the Mac platform you will see an other option: Mac Catalyst
This is sort of a middle ground option. You can develop your app in UIKit (or SwiftUI but that is given with all options) while you can also use some Mac APIs, however there are limitations.
The interface of your app will adapt to the Mac making this a great option for those who want to have some control over how their Mac app behaves compared to its iOS counterpart but don’t want to invest too much time into the cross platform support as the general functionality of the app will not be that different on the Mac.
Note that catalyst is only available for the Mac since it is meant to eliminate the need to work with AppKit and UIKit side by side, which is not the case on the Vision or other apple platforms.
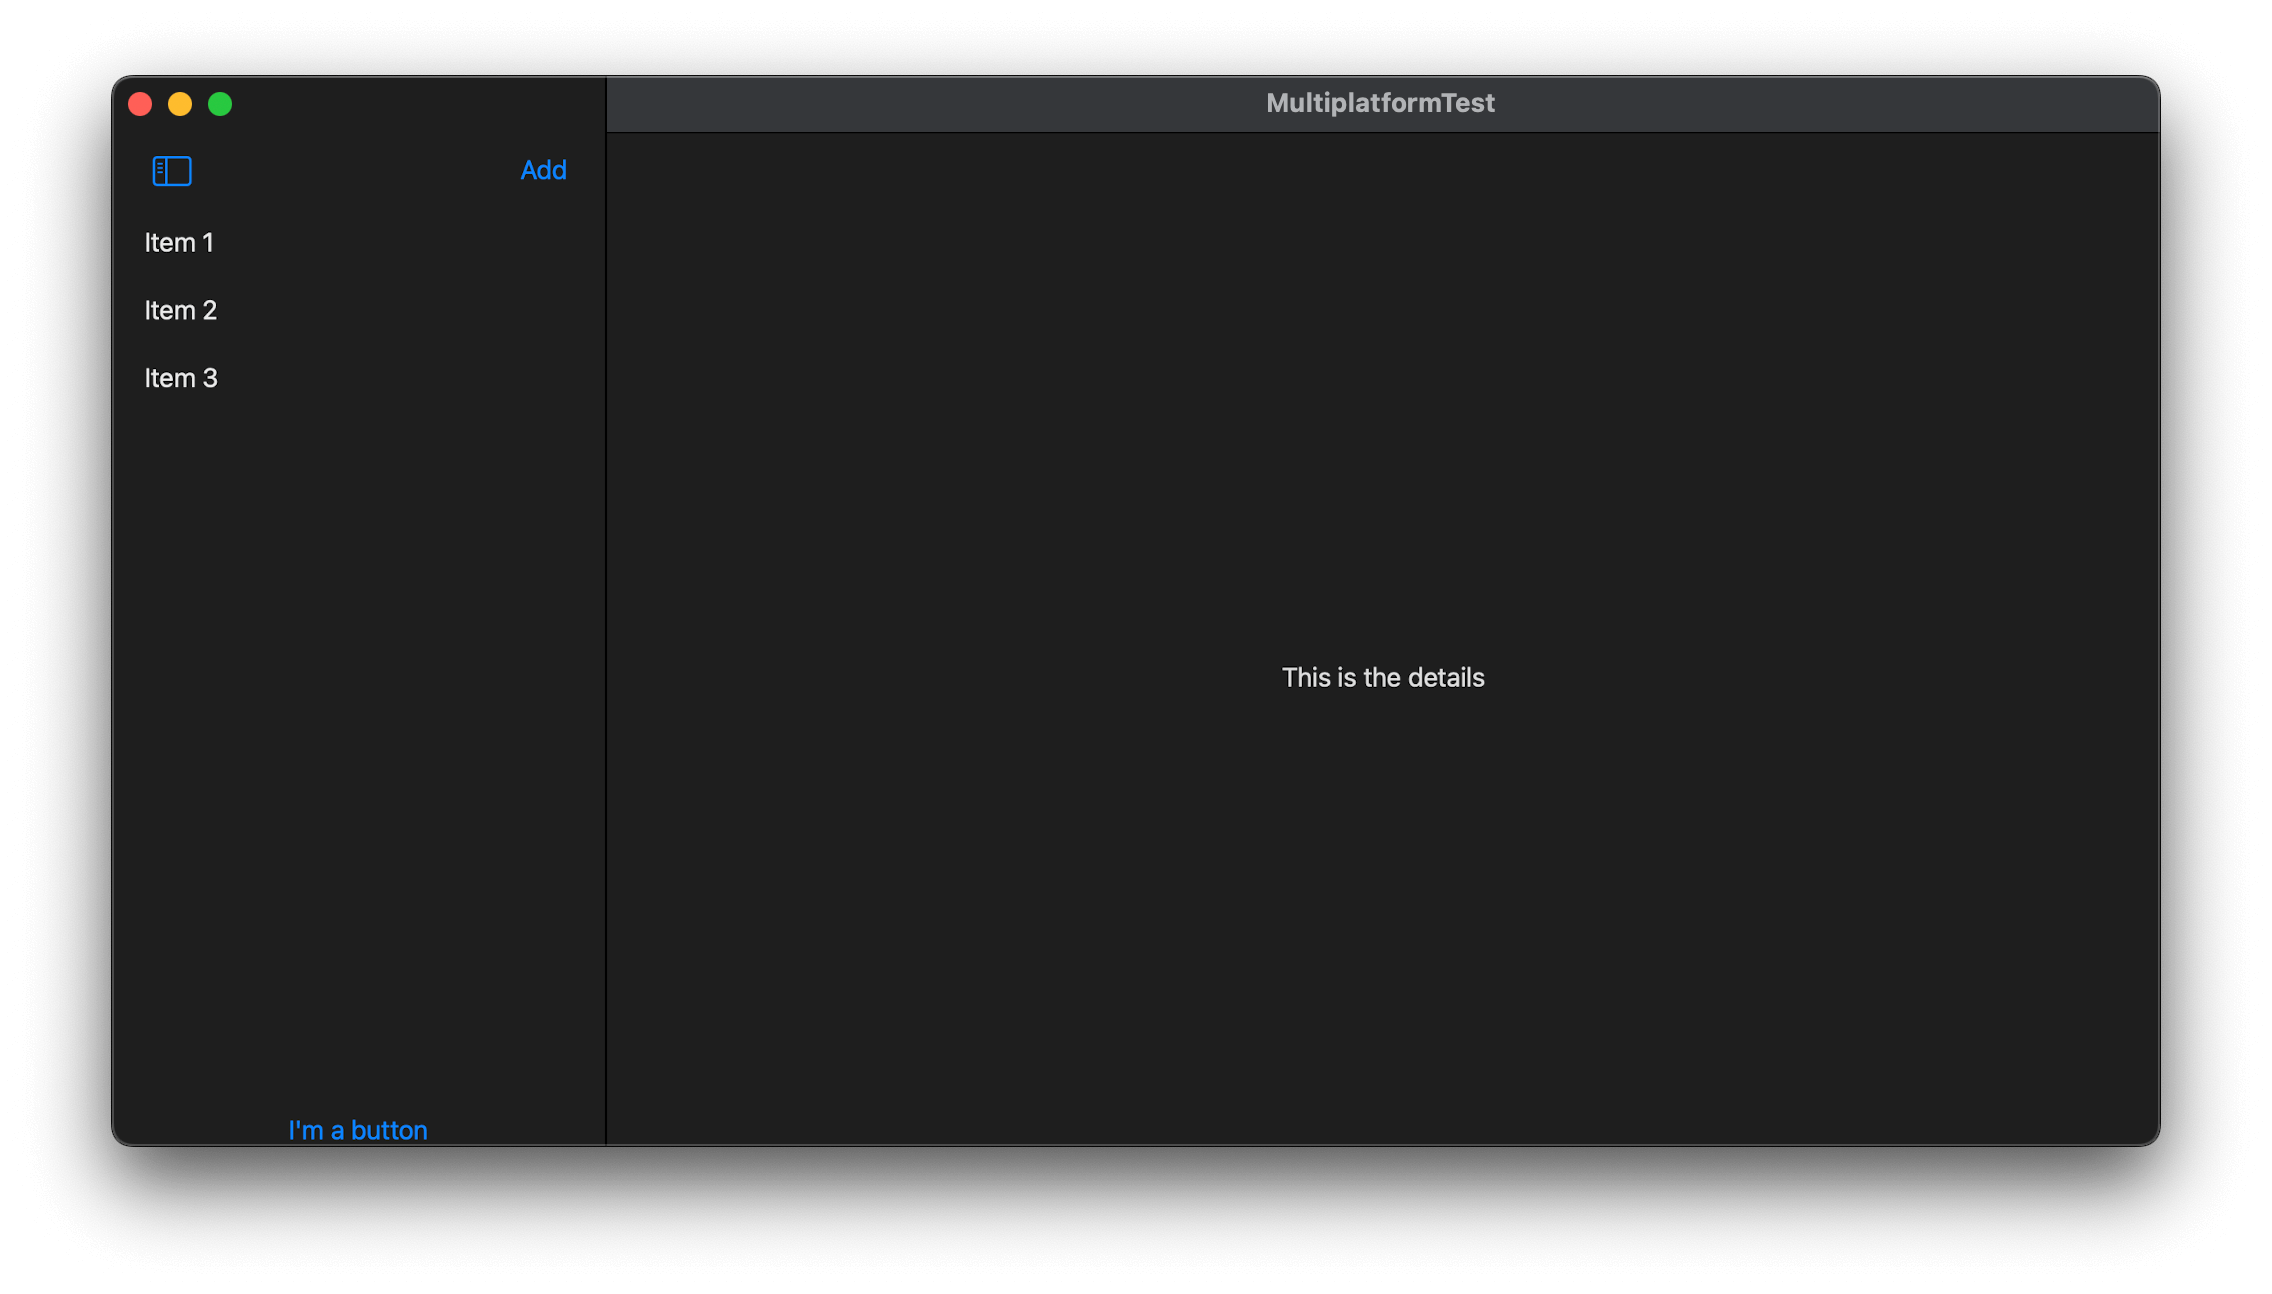
The differences may not be that obvious but that just because the UI is very simple. Also, some user interactions are also different that I'm not able to show with a simple screenshot. For example in the catalyst version, the left side list is only scrolable with a mouse while in the ipad version you also have the option to click and drag
Full power, unlimited possibilities
The last option is the native platform support. With this option your app will be a true citizen on the platform you are targeting. All UI elements will look and feel exactly how they are expected to, since your app is truly compiled for the platform. However with this may come some (more or less) extra work.
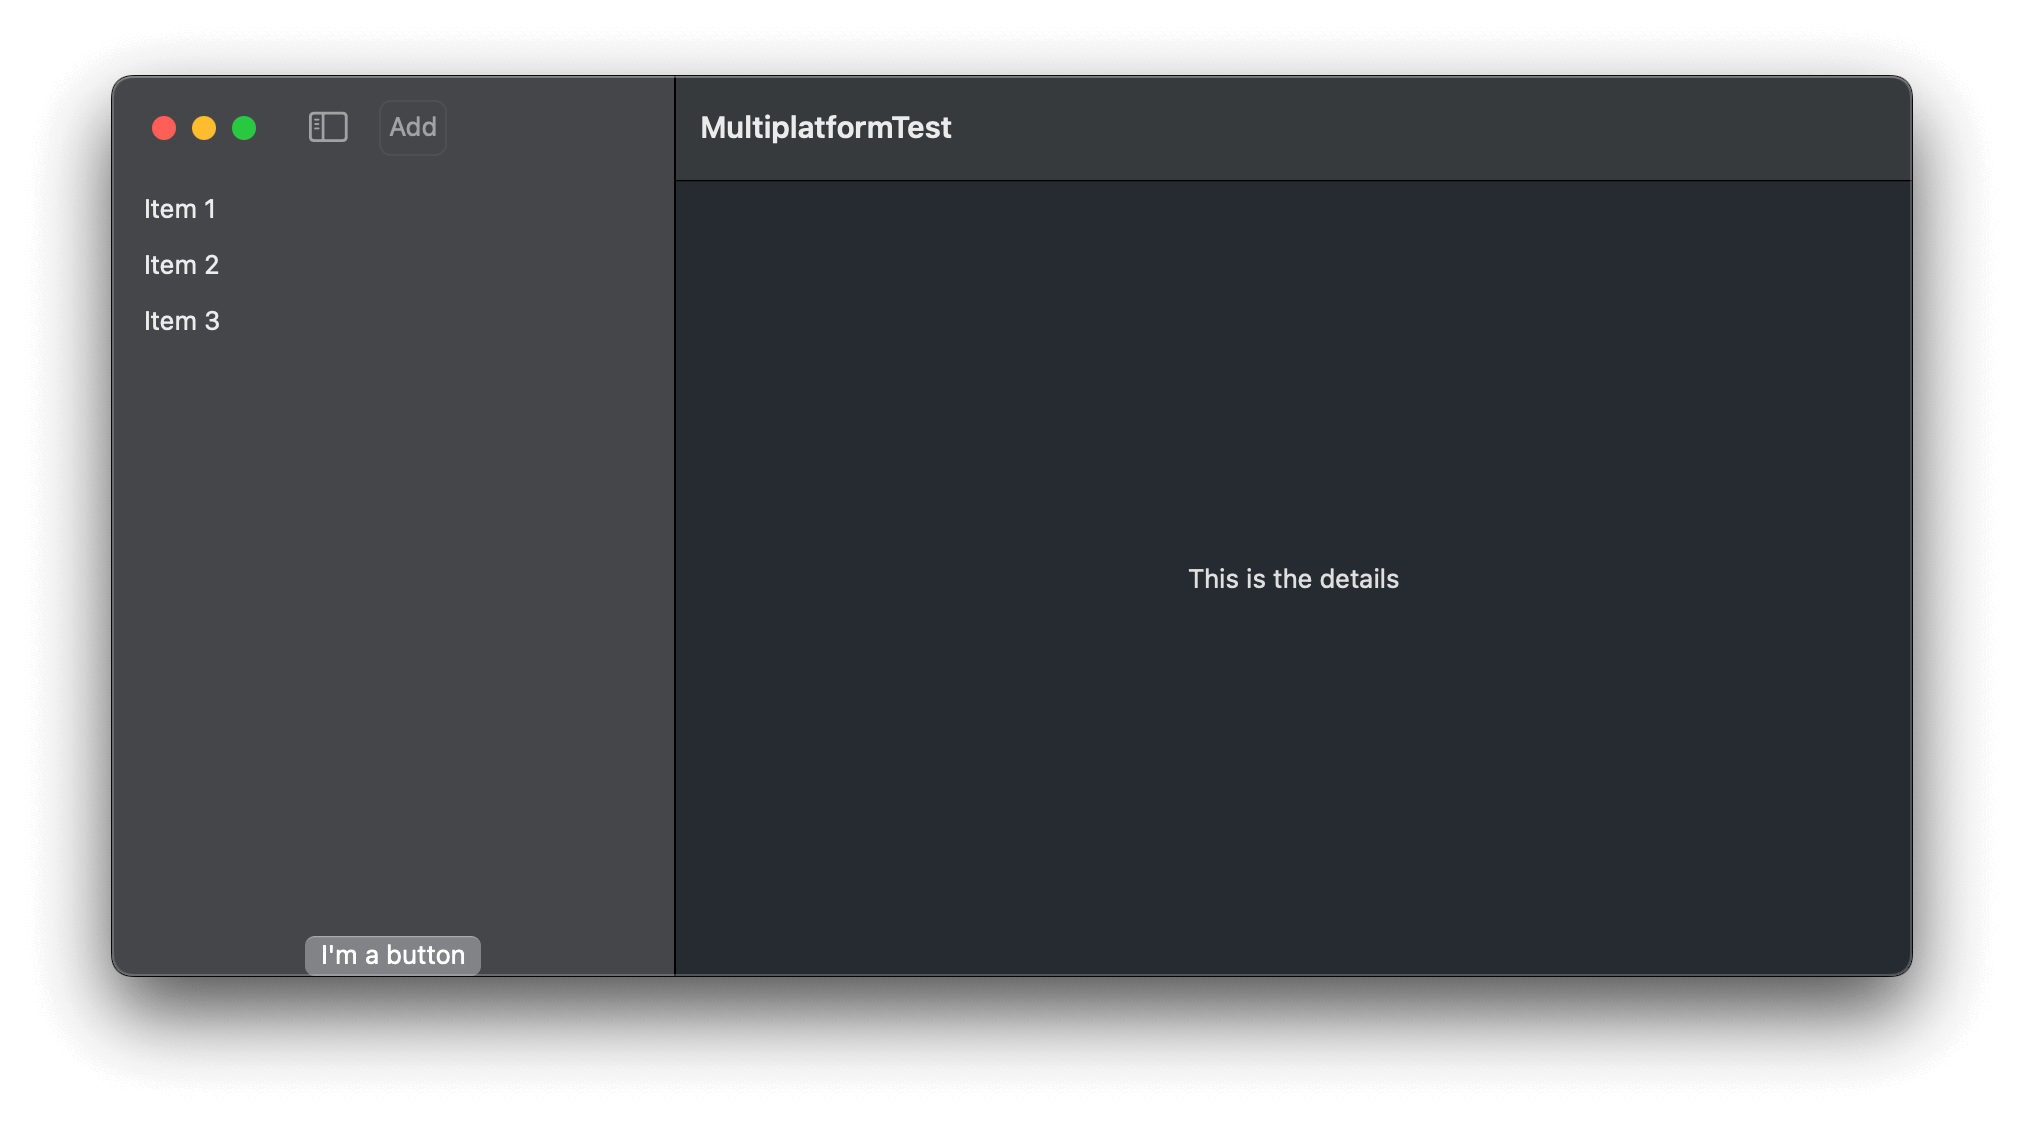
As I said, your app is compiled for the platform so only the frameworks available on the platform can be used, which means your UIView subclass will no longer compile, but changing it to an NSView subclass also doesn’t work since that breaks the build on iOS.
Of course SwiftUI makes all this really easy by being supported on all platforms but it cannot eliminate every possible issue. For example window management is a lot more complex on the Mac and the Vison Pro than on iOS and while many SwiftUI modifiers have different effects on different platforms, there are just things that can not be defined on certain platforms. So what is the solution?
Let’s look at some options for platform specific code…
Starting from the ground up
One of the easiest approaches is using a compiler directive to only include what is needed for the platform you are building. You can do this by using the #if os(platform) directive. What it does is that it tells the compiler that a certain piece of code is only to be compiled for a certain platform. With this, you can easily create platform specific parts of your code base. For example, you can use a system colour for every platform differently:
#if os(macOS)
    let secondaryBackground = Color(NSColor.secondarySystemFill)
#else
    let secondaryBackground = Color(UIColor.secondarySystemBackground)
#endif
Quick tip
Many classes have the same general shape both in UIKit and AppKit, so instead of duplicating your code, you can create a type alias on one platform for the view name in the other platform. An example to make it more clear:
#if os(macOS)
typealias UIImageView = NSImageView
#endif

func test() {
    let view = UIImageView()

    view.frame = .init(x: 0, y: 0, width: 100, height: 100)
}
This code will compile just fine for both iOS and macOS. Note however that how far can you push it will vary for each class individually.
Back to our business... The problem starts when your codebase grows and you start having more and more files like this:
@main
struct SomeCoolApp: App {
    @State var model = AppState()
#if os(macOS)
    @Environment(\.openWindow) private var openWindow
#else
    @State private var sheetOpen: Bool = false
#endif

    var body: some Scene {
        WindowGroup {
            MainScreen()
                .sheet(isOpen: $sheetOpen) {
                    SecondaryScreen()
                }
                .modelContainer(model.sharedModelContainer)
                .environment(\.someEnv, model.value)
                .environment(\.someOtherEnv, model.otherValue)
#if os(macOS)
                .environment(\.someAction, model.action(:_))
#else
                .background(.red)
                .padding()
#endif
        }

#if os(macOS)
        WindowGroup(id: "SecondaryWindow") {
            SecondaryScreen()
                .modelContainer(model.sharedModelContainer)
                .environment(\.someEnv, model.value)
                .environment(\.someOtherEnv, model.otherValue)
        }
#endif
    }
}
... and this is only going to get worse. Xcode helps you by making the code not available on the current platform less prominent, but it is still very hard to read and maintain.
Next iteration. Compiler directives but differently
The next iteration of the previous approach is that instead of wrapping certain pieces of code into an #if directive, you wrap your whole type definition into one.
By this, you can eliminate the messy code while maintaining one codebase. Take care however to name your types the same in all branches of the directive, otherwise you will not be able to use it in common code.
I would recommend not to overuse this approach as it can still become quite hard to follow what is going on in the code. Use it when you have a couple of files that got out of hand but most of your code is still shared or can be customised with just a few #ifs
Having different targets
When things get really serious, it’s time to create separate targets.
Click your project then on the left side panel click the plus button to add a new target
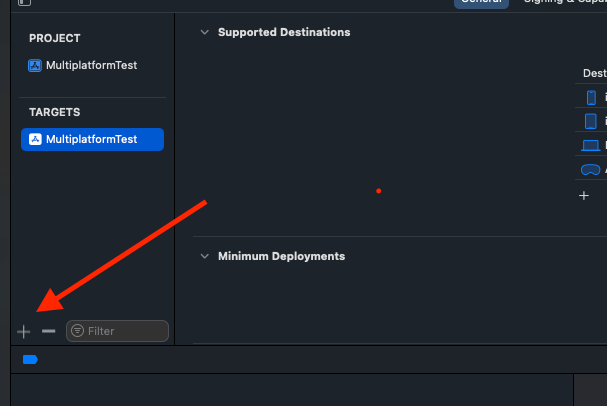
You can add a target for every platform you are going to support. Each target will generate a separate folder where you can store the files specific to that target. However note that you don't need to store every file in the folder of a target, so for common files, you can create any file structure that works for you
One file can be included in multiple targets, just select the file and use the right side inspector to select which targets you include your file for.
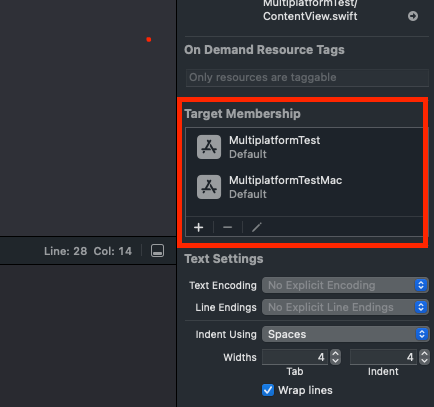
When you are building a target, the files not included don’t even exist for the compiler thus you don’t need to wrap your code in if directives any more
How to decide
My recommendation is to think through what are your end goals with your app then start from the lowest option possible because it is going to require the least amount of work. However it is important to think what you might want to build in the future because you can’t not use all 3 approaches on all cases and it is way easier to start the right way than to switch over after some time.
For example if you are planning to add widgets to your iOS app, you will need a separate target for it because the widget extension has to be embedded in your app and you can not control that with a simple compiler directive
And finally, mix and match. If you are working with multiple platforms, you will see that some are closer to each other than others. No one says you cannot create a separate target only for Mac and have iOS and visionOS in the same target, ply around and see what works best for your application
Related articles
Here are some more articles that may interest you. Check them out!
Working with CoreBluetooth
published on September 30, 2025
SwiftiOSDiscover how to use CoreBluetooth in iOS to build apps that communicate with Bluetooth Low Energy devices. This article explains the roles of central and peripheral, how services and characteristics work, and provides a practical example for implementing both sides of BLE communication in Swift.
Read moreWhat's new in Xcode 26
published on June 9, 2025
WWDCiOSmacOSIn this article we are having a quick look at what awesome new features Xcode 26 presented at WWDC25 holds for us.
Read moreWWDC25 Recap
published on June 9, 2025
WWDCiOSmacOSAs usual, Apple kicked off the 2025 Worldwide Developers Conference with a quick presentation highlighting the upcoming updates across its platforms. This article recaps the new features announced this year, including the striking new Liquid Glass design and the introduction of Apple Intelligence.
Read more